Layering your own hair is actually very easy to do. You will need the same tools as described in Trim Your Own Hair. The layering process is essentially making a ponytail at the top of your head, pulling the hair tie up to the desired length as described in Method One (see above link) and cutting it past the hair tie. This is all done in sections, creating a chunky, layered effect.
Personally, I like the bottom, or longest layer to be thicker than the rest to avoid the awful, stringy look I get if I let someone else cut my hair (because if you want something done right...yeah, I know). I get this the easy way by simply only layering the top half of my hair, and leaving the rest alone. If you have exceptionally thick hair, you probably don't have to worry about this. Here's how it's done:

2. Determine your hemline. If your hair has been cut straight across, you will want to want to be cutting your hair directly above the middle of your head. If you have a U or V shaped hemline, you will need to cut your hair just above your forehead or *slightly* in front (think unicorn).

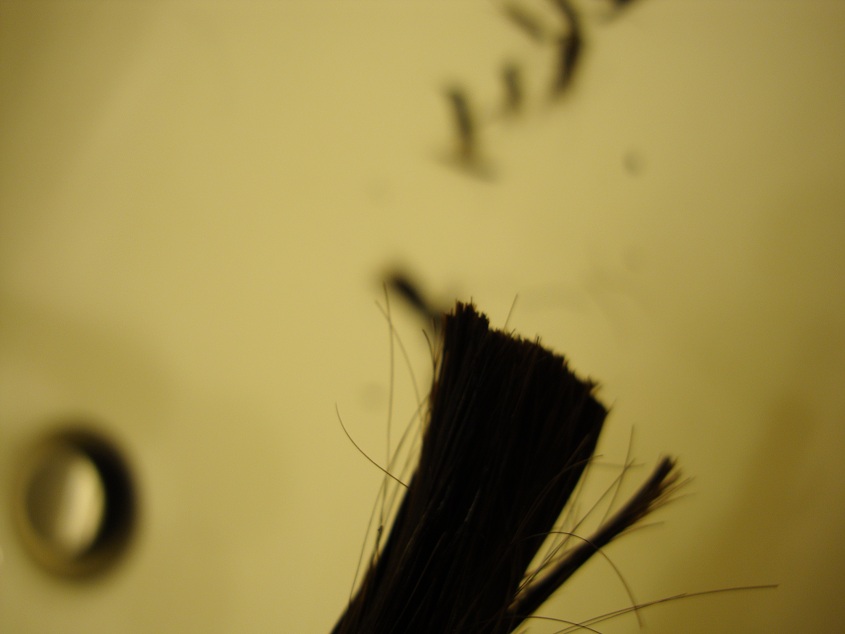
5. Let down your hair and check out your first layer. That was awesome!
6. Draw another line around your head further up, still parallel to the floor. Repeat from step 3, being sure to cut off the same amount as was cut from your previous layer so that your layers will be even.
7. Use your mirrors to see how it all turned out.
Awesome Tip: Not sure how it's going to look? Start with dry hair and do everything before the cutting step. Wet your hair from the ends to the hair tie and then let your hair loose. Now you can imagine what your hair would look like if you only had the dry part.

Troubleshooting:
1. I don't know how much to cut.
Maybe two inches? If you have really short hair or would like less layering, cut one inch. If you have really long hair and you would like longer layers, cut three inches. I would suggest using the awesome tip above to see how it will look before you do it.
2. My layers are not spaced evenly.
Go back and read the thing in red.
No comments:
Post a Comment